Make the most of your solid shampoo (or any bar soap) with a stocking.

Sure! Here’s the full translation of your blog post into English:


Hello everyone!

It’s been a very long time since I last wrote on the blog, but here I am again to share interesting and useful things. This is my latest discovery and, even though it’s a small thing, I’m really excited about it because I had never thought of it before.

I’ve been using solid shampoo for quite a while now because it’s more eco-friendly, practical for travel, and supposedly cheaper, since you’re not paying for a bottle filled with water and a bit of product (as you do with liquid shampoo). You’re paying only for the raw material — the shampoo itself. I say supposedly cheaper because the problem I was having is that when the bar was quite worn down, it was hard to use — not enough lather came out, it would slip from my hands…

I did some research online and found recipes where people cut up the leftover bits of shampoo (or soap), dissolve them in hot water, and make a liquid shampoo. There are also videos where people turn soap flakes into a new bar. I tried the first idea, but it didn’t work — the pieces didn’t dissolve well. Besides, if you do that, it would only be for one-time use, since you’re mixing the product with water and not adding any preservatives like commercial liquid shampoos do. I didn’t try making a new bar, but to do that you need to have enough leftover bits.

Anyway, the other day I came across a video where a woman said they used to wrap the soap bar (for body use, in this case) in one of those fabric sponges. And that’s when the lightbulb went on! I remembered other videos explaining how you could use an old mesh or stocking to strain nuts for making plant-based milk. And I thought — what if I put the solid shampoo in a stocking to “squeeze” every last bit out of it? Said and done! I cut up an old stocking, put the solid shampoo pieces inside, and tied a knot. When I washed my hair, it worked perfectly — not a single bit of shampoo slipped away, and once mixed with water and rubbed onto the scalp, plenty of lather came out. That way you can use up every last flake. Then you just leave it to dry, and that’s it. When the stocking wears out, you can just wash it normally and use it again. I’m adding a photo of my shampoo-in-a-stocking, already used.

Hope this helps you all! 🙂

Get the most out of your solid shampoo (or any soap bar) with a panty

Hello everyone!

It's been a long, long time since I wrote on the blog, but here I am again to tell interesting and useful things. This is my latest discovery and, although it is silly, it has me excited, because it had not occurred to me before.

I have been using solid shampoo for a long time now, because it is more ecological, practical for traveling, and because in theory it is cheaper, since you are not paying for a container with water and some product (as you do with liquid shampoo). You pay only for the raw material, which is the shampoo. I say that in theory it is cheaper because the problem I had was that when the tablet was already quite worn out, it was difficult for me to apply it, not enough foam came out, it fell off...

I researched online and saw recipes where they cut the remaining soap (or shampoo in this case) into small pieces, dilute it in hot water and create a liquid shampoo. There are also videos where they create a new soap with soap flakes. I tried the first idea and it didn't work, the pieces didn't dissolve well. Furthermore, if you do that it would be for a single application, since you are mixing the product with water and you are not adding any preservative, as there is in commercial liquid shampoos. I didn't try creating a new pill, but for that you have to have enough leftover pieces.

The fact is that the other day I found a video where a woman said that what they did to take advantage of the bar of soap (in this case for the body) was to wrap it in one of those cloth sponges. And then I had the idea! I remembered other videos where they explained that with an old stocking you could squeeze nuts to make a vegetable drink. And it occurred to me that by putting the solid shampoo in a stocking I could "squeeze" it as much as possible. No sooner said than done! I cut up an old sock, put the pieces of solid shampoo in and tied a knot. When I washed my hair it worked perfectly, not a bit of shampoo escaped, when mixed with water and rubbed on the head the product came out well, so I could use every last flake. Then the stocking is left to dry and that's it, when the stocking is worn out it can be washed as normal and start again. I put a photo of my stocking with shampoo, already used.
I hope it helps you! 🙂

Shampoos, hairbrushes and showers

Hello everyone!!

In this month’s post I will continue along the same lines as the previous one, talking about hair discoveries. Given my intention to reduce industrial cosmetics to the maximum or eliminate them completely (news about toxic ingredients in lipstick are nothing new) and my success in covering gray hair with henna, is no wonder I’m not satisfied with just using any supermarket shampoo/conditioner/mask products. Also, since I like to be as minimalist as possible, I have been searching for the simplest formula for months.

Well, I had heard about solid shampoos and about how convenient they are when travelling, but I had not tried them. For a long time I used the traditional yellow Johnson & Johnson (baby shampoo), because shampoos for babies’ ingredients contain less “shit” (although there have also been alarms for toxic ingredients in this type of shampoo). So, I started to look at solid shampoos and I think I have found the one that suits me very well, lasts a long time (another advantage of solid shampoos is that, since they are not diluted in water, they yield more) and it is decently priced for its duration. The shampoo I like is this one:

I also bought the container to put the donut-shape shampoo, and in the shower I simply leave it resting on the soap holder, because the hook that came with the shampoo doesn’t work. The ingredients of this shampoo are:

This shampoo also has versions for greasy, colored, children hair… but its composition does not vary much. I had tried another one that contained the typical caustic soda/sodium hydroxide that grandmothers’ shampoos/soaps used to have and that is still used a lot for homemade cosmetics today, but with that ingredient my hair looked too dull. As I dye my hair with henna, it is normal for my hair to get a little dull in the first wash after dyeing because there is still some mud residue, but by the second wash it is already perfect. And what I do after washing my hair and having it with a towel for 5 minutes is to spray it with white vinegar. Vinegar works as a conditioner for your hair (and for clothes in the washing machine, as well as cleaning the whole house along with baking soda). I use regular white vinegar because it is much cheaper than apple vinegar, and the effect is the same. Don’t worry about the smell because it goes away when your hair dries. And that is all, my friends! Henna, solid shampoo bar and vinegar, the 3 products I use for hair. Very cheap, ecological and non-toxic.

I am not going to dwell too much on the dangers of industrial shampoos, as there are already thousands of articles and blog entries that explain the harmfulness of parabens (endocrine disruptors), silicones (they damage hair) and sulfates (they cause dye to last less and they spoil hair). In addition to that, with industrial shampoos hair lasts clean much less time. The transition from industrial shampoos to natural shampoos can be a bit difficult (we seem to be doing better with industrial shampoos), but it takes a few washes. I do not usually use hair masks, but if I want to use it, I would simply put coconut oil before washing my hair and that’s it. And aloe vera gel works very well as hair gel, although I don’t use it either.

My hair is thick and strong, and although it may seem like an advantage, it is also complicated to deal with. Except when I straighten it, I do not brush my hair every day, only when I’m going to brush it (that is, every 4 or 5 days). And  I need a good detangling hairbrush, especially after applying henna. I have looked for hairbrushes that would help me detangle my hair easily, and the two best I have found are these:

The Tangle Teezer hairbrush detangles very well and is made of plastic, so it is easy to clean in the dishwasher. It detangles very well, you can use it also in the shower with your conditioner (or vinegar). I also bought the Mason Pearson hairbrush because I saw a Victoria’s Secret model recommending it 😊. It has surprised me because it is indeed very good. Since I already had the Tangle Teezer, I bought it in the bag version to carry in my bag (it’s cheaper that way) and I love it. I have it in blue and with nylon bristles (white ones, for thick hair). If your hair is medium (neither very thick nor very fine) there is a version with nylon and boar bristles, and if your hair is very fine with only boar bristles (the dark ones). I already had a boar bristle wood hairbrush, so I bought the nylon one.

For frizz (it happens in humid places and after drying my hair) I sometimes use a wooden comb. It is also good to roll your hair with a microfiber towel or a cotton shirt Anyway, the best thing for frizz is to iron your hair a little.

Finally, speaking of showering, I wanted to take the opportunity to point out that it is not necessary to lather the whole body every time we shower, and less with industrial soaps, because it causes too much dryness. I use the same soap for my body as for the face (Dr.Bronner’s) or a baby one (Mustela). I only use soap daily for my private parts armpits and feet. For the rest of the body, soaping it once a week is more than enough. This way the skin does not dry out so much and you do not need moisturizer after the shower. By the way, the best body creams, in my opinion, are coconut oil and shea butter.

Until next month!!

*To buy the products I speak about (I only recommend products that I’ve tested):

As an Amazon Associate I earn from qualifying purchases

*From the United States:

*From Mexico:

*From Spain:

I dye my hair with henna

In a previous post I already talked about my interest in henna. Since I started to have some gray hair (around 28-30 years old) I tried to use a natural dye, that would not complicate my life too much and in my own color. As I had heard ugly stories (from people I know closely) about serious allergies, damaged hair, sick people who are forbidden to dye their hair… I decided I would use only vegetable dyes. I tried the Apivita and Herbalife ones in dark brown, and they worked quite well. But the truth is that they are expensive (even if I only use half a box per month) and although they are softer than the usual supermarket dye, they as well contain an equivalent to hydrogen peroxide and chemicals that I do not like at all. I didn’t want to spend too much money in dyes at the hairdresser (stop thefts!). Also, several people had already told me about henna and I wanted to try it. The problem is that in all the research I did on the internet it appeared that it is not effective in covering gray hair, and that it stained everything, so that discouraged me a lot. But I decided to try after talking to someone who assured me that it does cover gray hair.

Since I wanted a color similar color to mine (dark brown), I bought Radhe Shyam’s Indigo Henna Mix (specifically the deep brown color). Actually, the mix has more indigo than henna (the order of ingredients in the products goes from most to least, this also works for food ingredients). Indigo is the blue dye used to dye jeans, and just like jeans, it fades with washes. Mixing indigo with henna brings out the dark color. In fact, there are people who only use indigo to dye their hair black. The world of henna includes mixtures with plants to achieve different colors, shine… But what really covers gray hair is henna, which gives a reddish color to gray hair and blends with the natural hair color.

My experience with the indigo + henna mixture was not good. And I gave it several opportunities (about 4 or 5 applications) testing the application in different ways. To begin with, the indigo left black stains on my towel, collar, nails, hairbrush … a disaster. And I did not feel that the gray was covered well (indeed, the component that dyes gray hair is henna, and it comes in less quantity than indigo in the deep brown color). In addition, as I investigated later, the two plants have different ways of working: for henna you have to mix with water at a higher temperature and the indigo with less, the acid (for example from vinegar) that makes henna work better inhibits the indigo color… a mess, too complicated. In fact, they recommend that you dye first with henna alone to cover the gray hair and then with indigo to achieve the dark color. Just the complications that I don’t want.

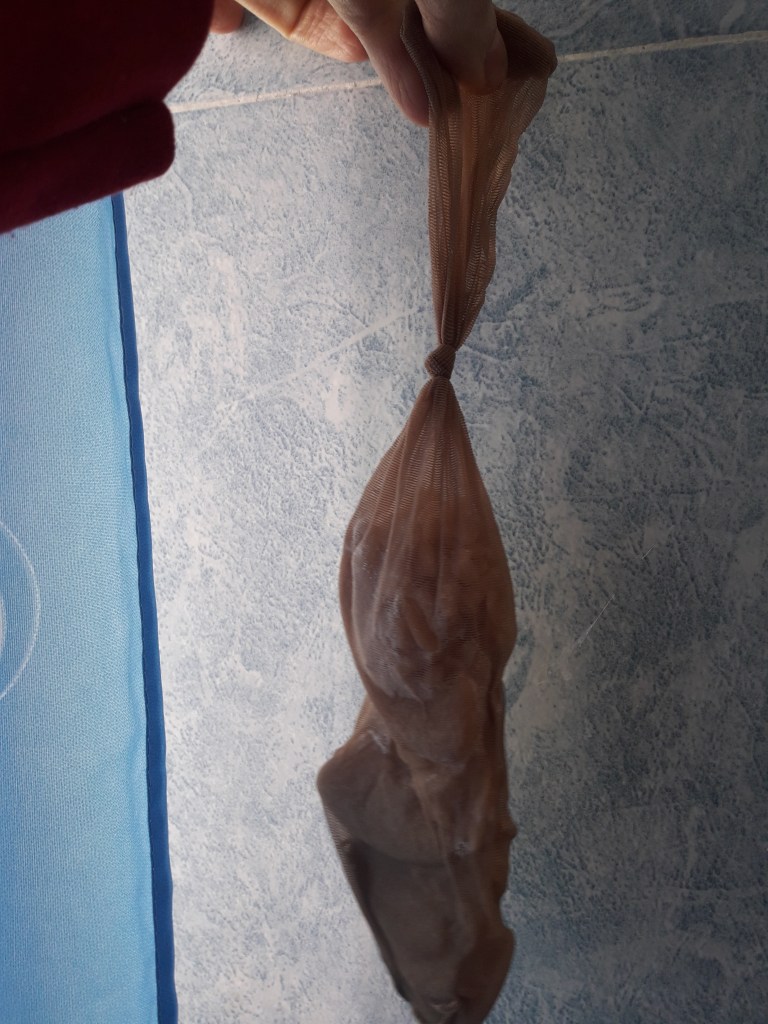
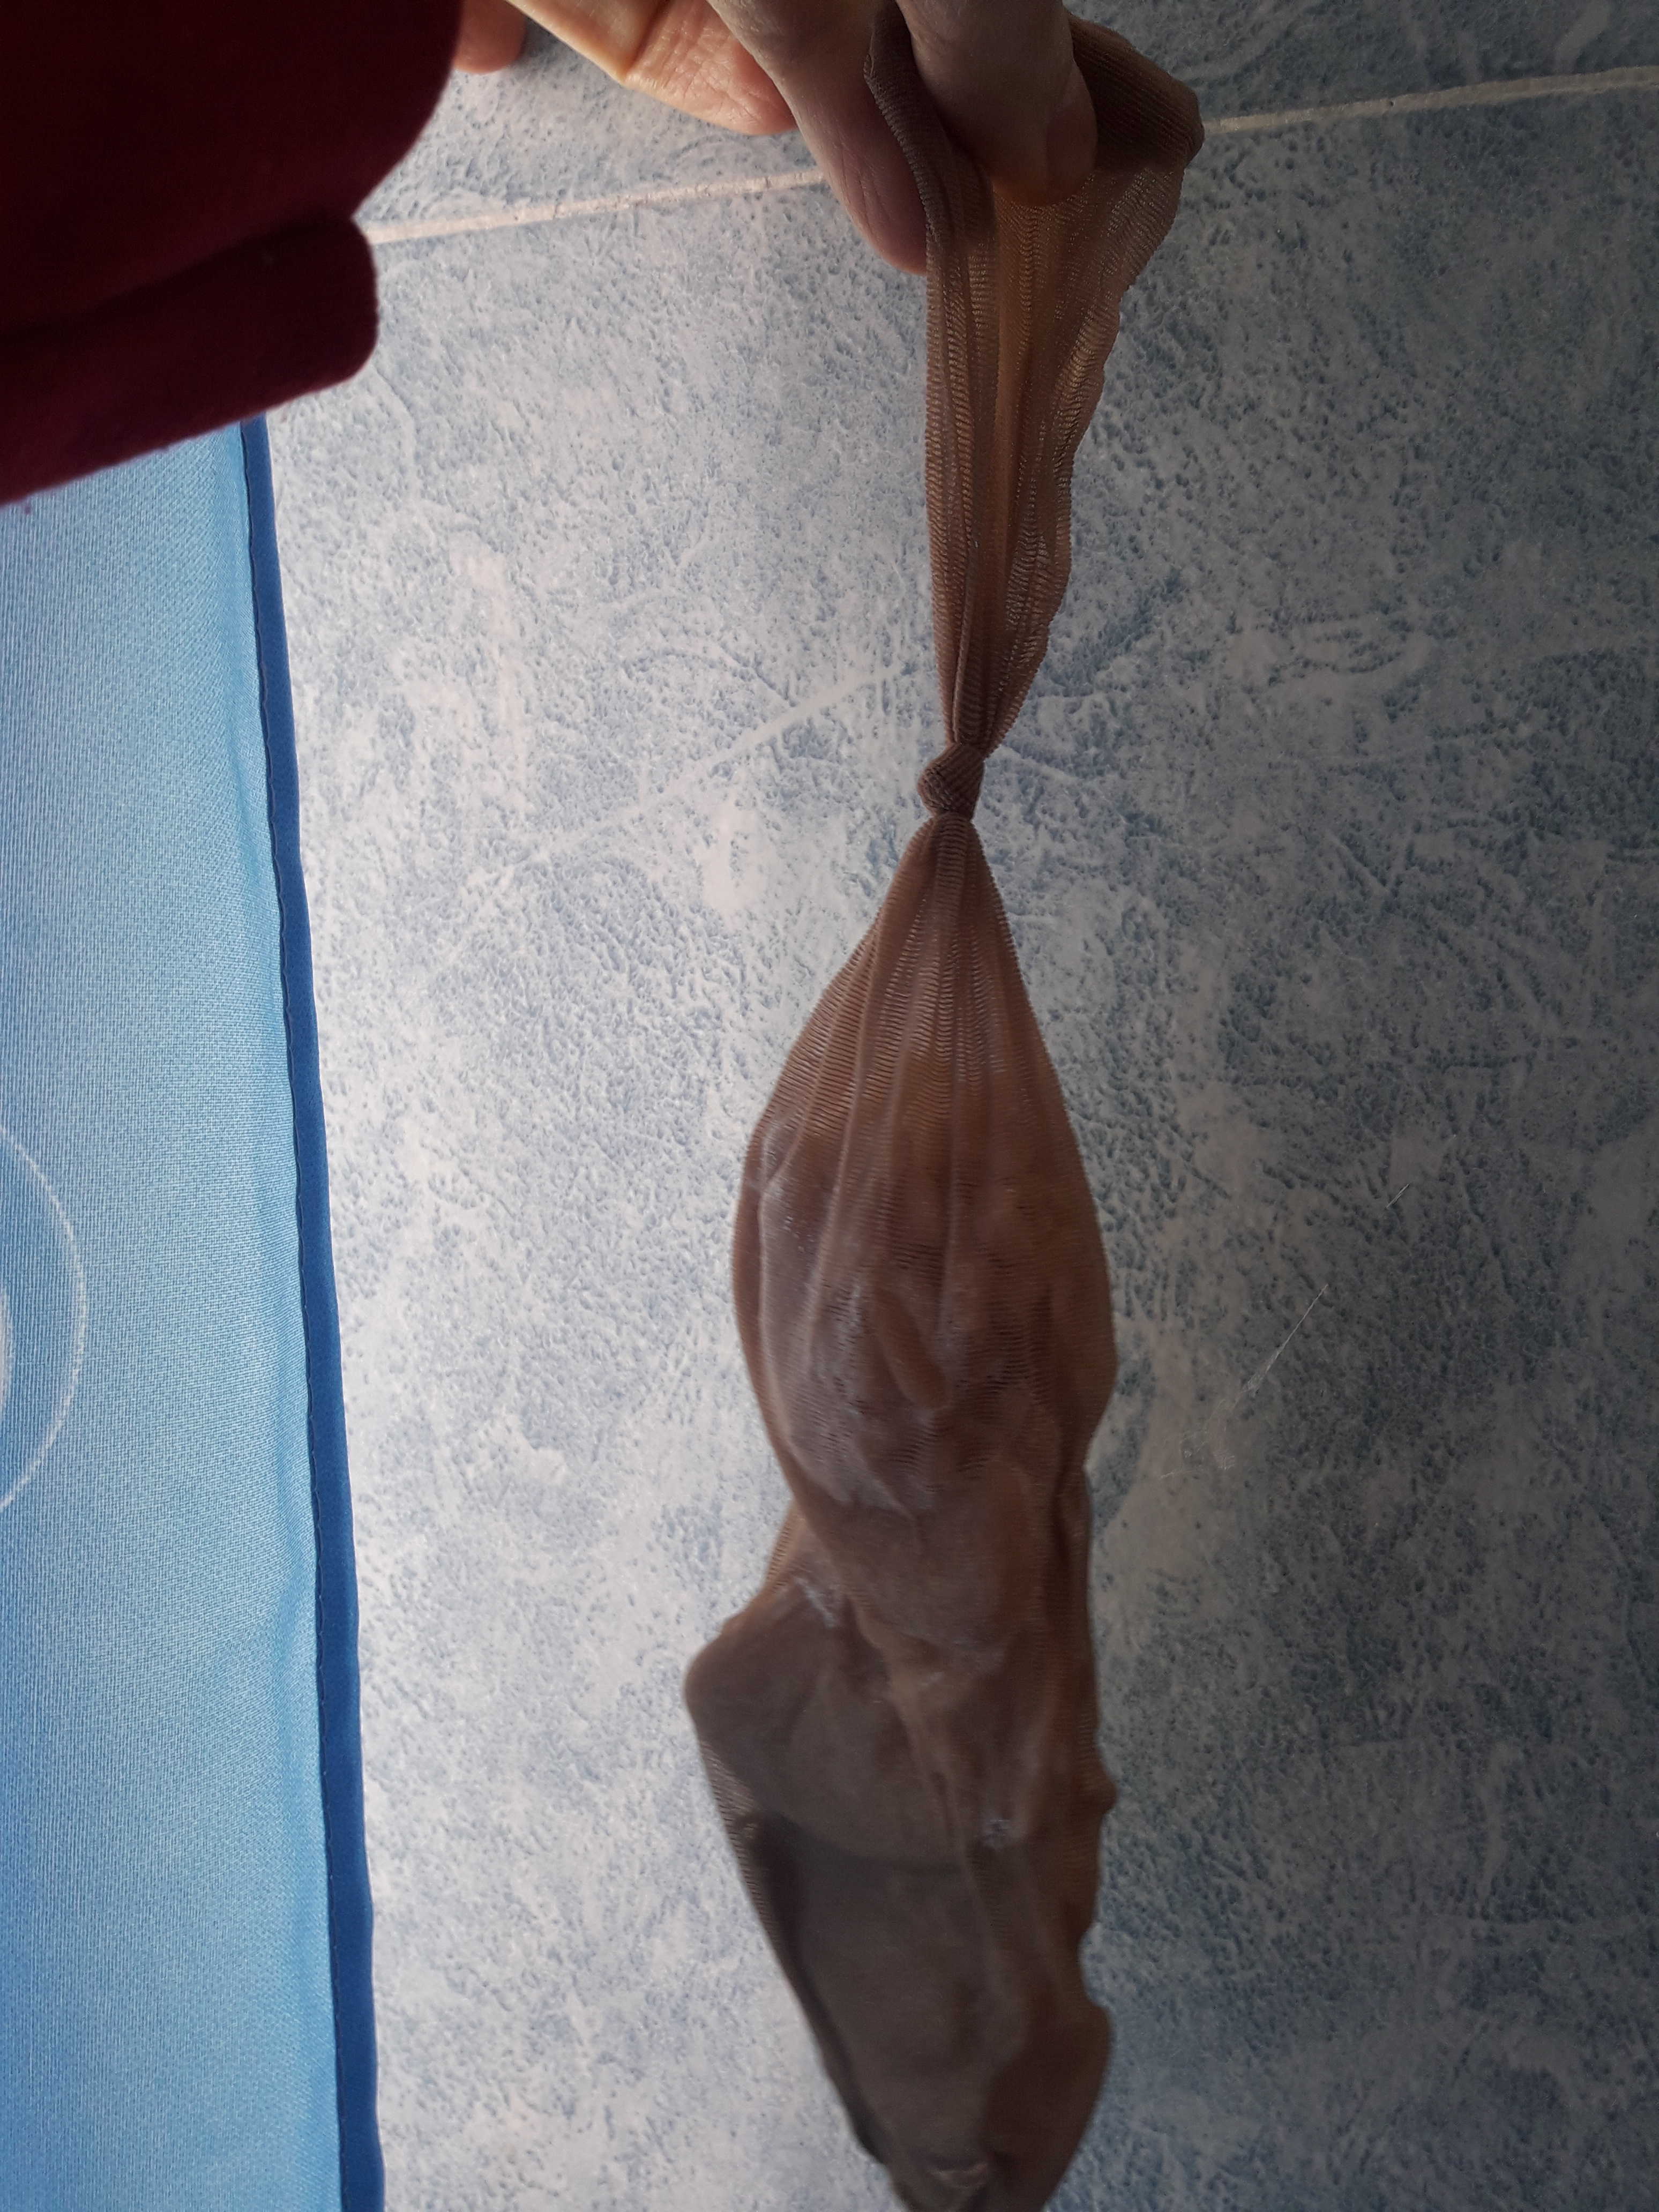
So I decided to try henna alone. I was worried that the result would be weird as I have dark hair and gray hairs would be red. But hey, I don’t have that many either so it couldn’t be so horrible. I found a book called Henna for Hair. How-To Henna, by Catherine Cartwright-Jones, year 2006. Apparently it is the result of a doctoral thesis on henna. You can find it for free on the hennaforhair.com page. On this page they explain many things about henna, and the book is very interesting, it contains historical and practical information. In the book they explain how, experimenting with dyes in sheep’s wool, they saw that the color was much better mixing the henna with acid, and not with water (doesn’t matter temperature) as they usually recommend in the manufacturers’ instructions (in fact, another very famous and more expensive brand than Radhe Shyam, even though their dyes contain the same ingredients, is Khadi, who even sells you a thermometer to check that you have the perfect temperature for henna, purely to create unnecessary purchases). So, I started using the henna alone, preparing it the night before with white vinegar, and heating the mixture in double-boiler the next morning. And boy did it work. The gray hair was covered perfectly, and it does not look strange with my color, it looks like highlights. In the rest of the hair, you hardly notice anything, maybe some red highlights in the sun. This is perhaps because my hair is very thick and does not hold the color as much, but I repeat that gray hair is perfectly covered and it does not go away. In fact, I see perfectly when I need to dye again because my hair has grown, but the gray that is already dyed keeps red.

Another hotly debated issue is the issue of application. On the page and book that I have recommended they say that henna must be applied with clean hair, not so much because it cannot be applied with dirty hair but because they tell you that after the application (in my case I leave it 4 hours but a lot people have results in less time, although less than 2 hours would not be recommended) henna should only be rinsed with water, without shampoo. Then you should allow two or three days for the henna to release all the pigment in your hair when oxidizing, and then wash the hair. I did it like this the first few times, but it was very difficult for me to spend 3 days with traces of mud in my hair, which although they were not noticeable, left my hair very dull. In addition, this procedure involved washing my hair, then applying the henna (I tried both dry and wet) and then rinsing it in the shower. I wash my hair every 4-5 days, I have a lot of hair and it takes time to dry even with a hairdryer, so this process was too cumbersome and time-consuming. So, I tried applying it like regular dyes (on dirty hair and shampooing after application) and voilà, it worked just as well. So one less complication. In short, now the only different thing that henna implies compared to a normal dye is the time that I leave it on. Yes, it is more messy to apply, but a friend from work comes over and puts it on me in no time. Update: Iater I also learn to apply it myself. 😊

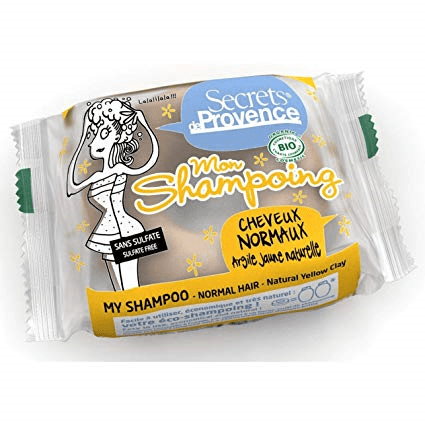
So I am very happy with the results of the henna. First, it’s very cheap: less than 3 euros for a box of Radhe Shyam that currently serves me for two applications, I buy the color “natural copper”, which is the one that contains only henna. Do not get confused with other brands that come from India, if you are in Spain, this brand is cheap, has been around for many years and has the eco certification. I cannot opine about the efficacy and ingredients of other colors, but for pure henna I would choose Radhe Shyam. Second, after about eight attempts, I finally discovered the most efficient/least cumbersome/least time-consuming way to apply it: mix with vinegar the night before, apply on dirty hair the next morning, leave it 4 hours and wash afterwards. I don’t know why people get so complicated, or maybe it’s a matter of what works for some and for others. On the mentioned page and on forums they recommend not using sulfate shampoos because it would damage the color, although I don’t think it’s that bad either. I will talk about sulfate-free, solid shampoos and other hair discoveries in the next post. Well, from the photos I have seen, it seems that brown/fine hairs get very caught by the red/copper tone, it is very beautiful. Not for me, as I said I just have some red highlights. The gray hairs are orange/reddish but with the days they blend more with the hair color.

Henna does not stain anywhere near as the mixture I used of indigo + henna, but in my case it does leave some smears on the hairbrush. Not so on clothes, sheets or pillow. In any case, some mud that may take a few washes to completely go away (but you can’t see anything in the hair, it looks completely clean) can help those with oily hair to space out washes. I don’t have greasy hair, but I don’t feel that henna has dried it out. In fact, henna in addition to dyeing is supposed to nourish and make hair thicker (I didn’t need more of this, but anyway).

I will continue with hair news 😊

*To buy the products I speak about (I only recommend products that I’ve tested):

As an Amazon Associate I earn from qualifying purchases

*From the United States:

*From Mexico:

*From Spain: